Author name: Specto Technology

How to Assemble Double Ground Mounted Brackets for Your Solar Panels?

How to Assemble Double Ground Mounted Brackets for Your Solar Panels?

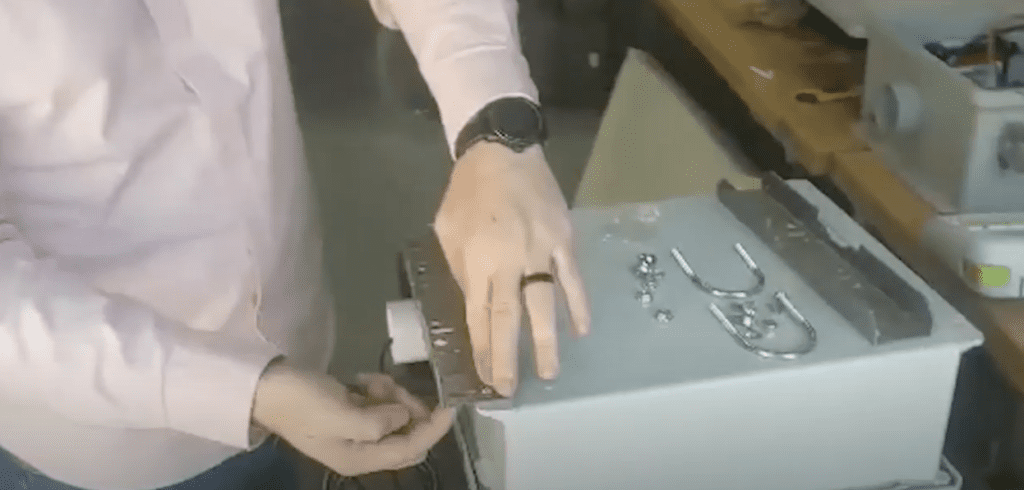
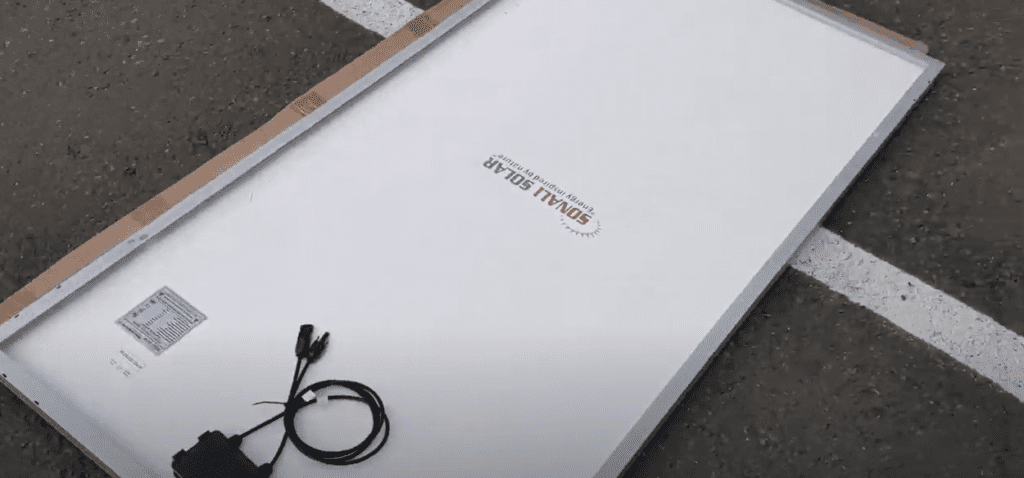
Putting Together a Double Solar Panel Mounting Bracket We’ve got the bracket parts and all of our hardware here, which I’ve put the lock washers and flat washers on all the bolts just to make the assembly easier. I’ve got our 200 watt panel already ready to go on a nice cardboard surface so I don’t scratch it up, and I’ve got a 150 watt panel over here. Now, in this case, we’re going to mount the 200 watt panel first because it is larger. We’re going to put the brackets that…

How to Assemble Double Ground Mounted Brackets for Your Solar Panels? Read More »

How to Set Up Your AQS1 Unit?

How to Set Up Your AQS1 Monitor?

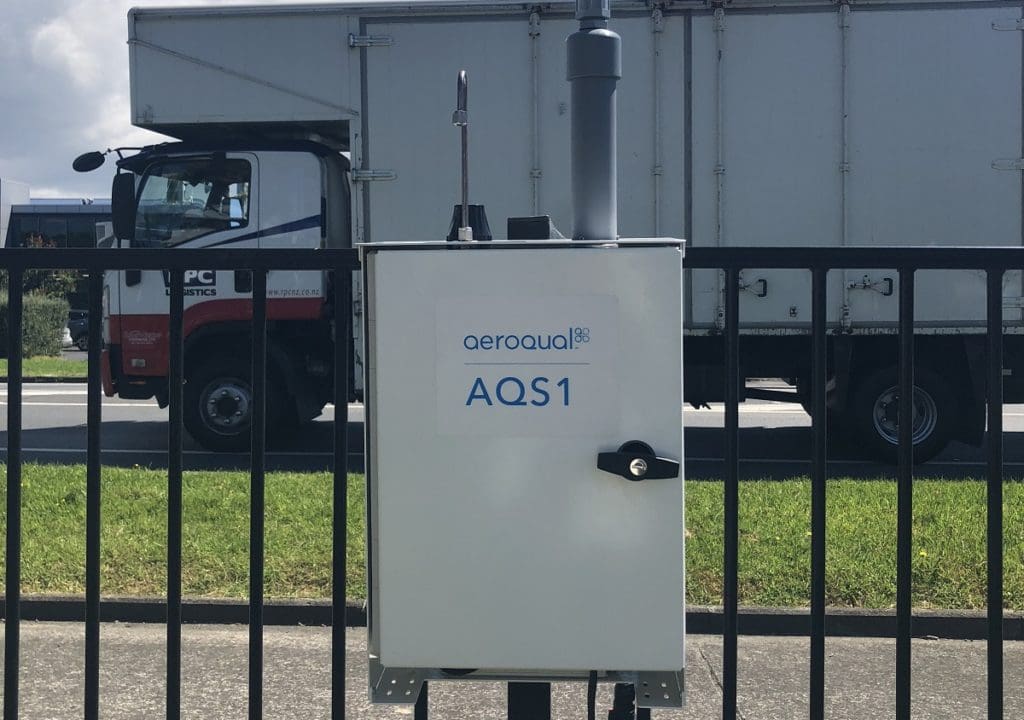
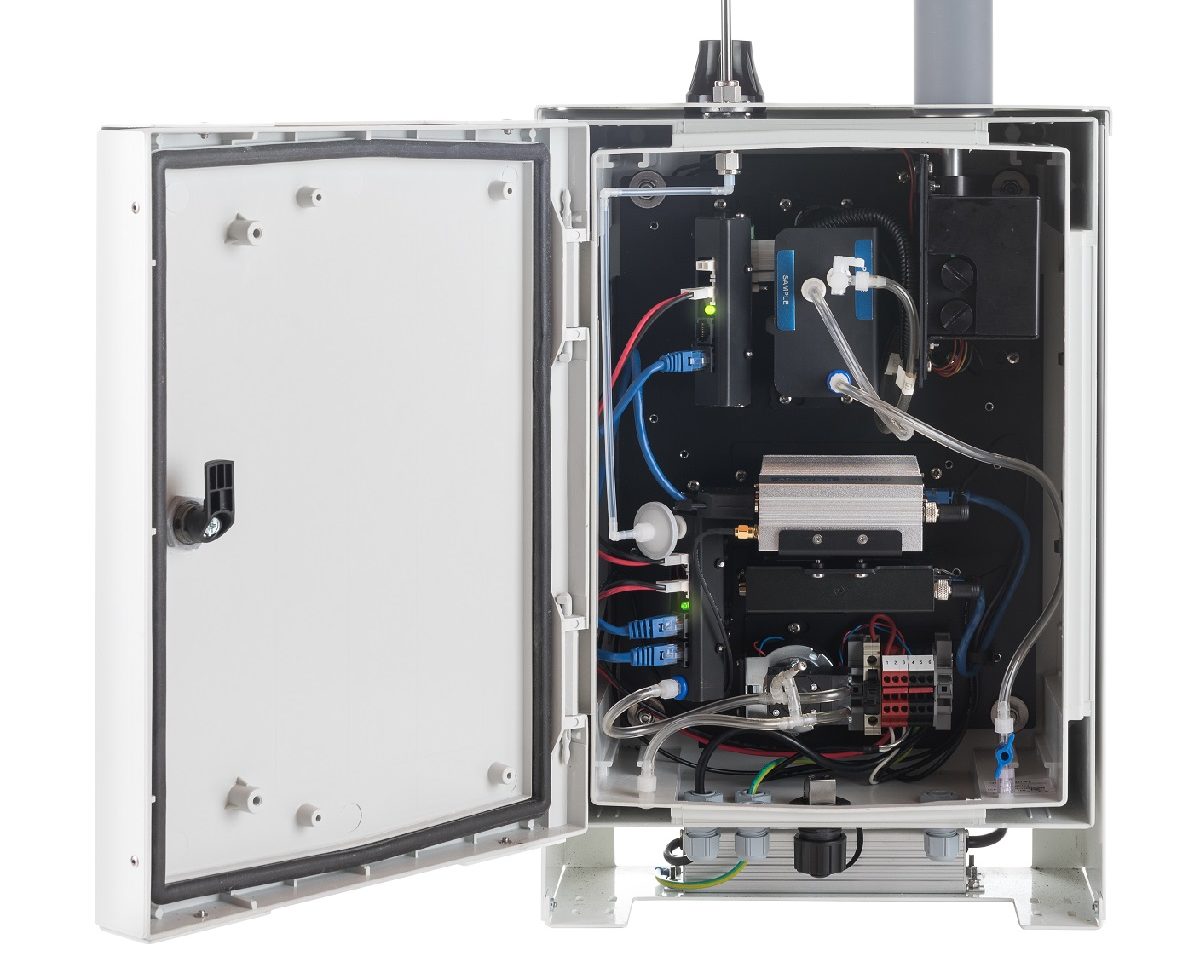
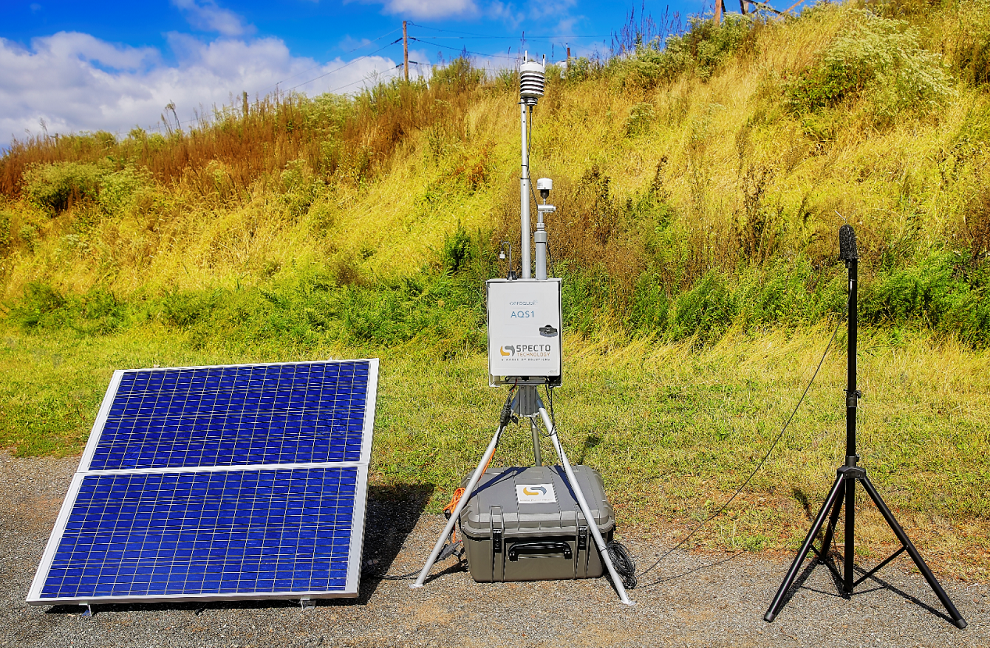
How to Set Up Your AQS1 Unit in just Minutes? Open the case, and you will see your service kit inside. This has your power cables. Now, take out your tripod and adjust to the right height. Tighten the screw, raise the pole to the Specto Technology sticker, and lock in place. Making sure your brackets are aligned, take out the AQS 1 unit, and when you put it on the tripod, make sure you put both brackets on at the same time. There’s your AQS 1 unit on the tripod. Powering Your…

How to Set Up Your AQS1 Monitor? Read More »

All You Need to Know About a Standard Inclinometer Casing - Assembly Guide

All You Need to Know About a Standard Inclinometer Casing – Assembly Guide

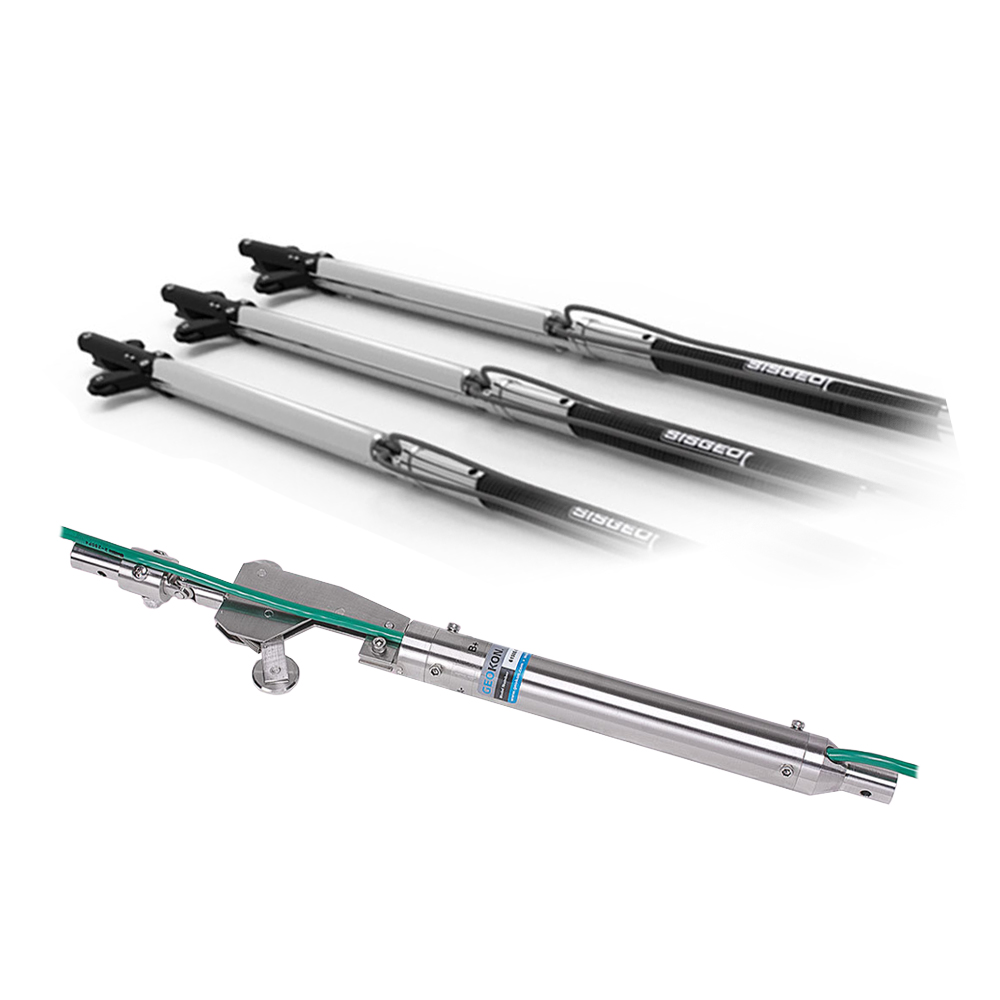
What an Inclinometer Casing Consists Of: An inclinometer casing consists of sections of ABS plastic casing, which has four perpendicular grooves and the associated plastic couplings that have four guide grooves on the inside and two drilling guide holes on the outside at each end. 2 Methods of Attaching Couplings There are two methods of attaching the couplings: The first uses rivets and the tools required for this installation include a hand drill with a one-eighth inch bit, a rivet gun, and one-eighth inch medium sized rivets. The second method uses self tapping…

All You Need to Know About a Standard Inclinometer Casing – Assembly Guide Read More »

How to Mount a Vaisala Ultrasonic Weather Station to a Tripod?

How to Mount a Vaisala Ultrasonic Weather Station to a Tripod?

How to Connect to an Aeroqual AQS1 Monitor or the Aeroqual Dust Sentry Monitor? Here we have the Vaisala weather station and down here, we have the connection for the power and comms. This component here is the one inch pole connector that we will use. Here is the power and comms. And finally on the pole is a one inch pole that we provide to you and a hose clamp. That’s connecting that on to our tripod. Step 1 – Attach the Pole Connector All right, so the first thing we need…

How to Mount a Vaisala Ultrasonic Weather Station to a Tripod? Read More »

How to Set Up Your Sonitus Sound Level Monitor System?

How to Set Up Your Sonitus Sound Level Monitor System?

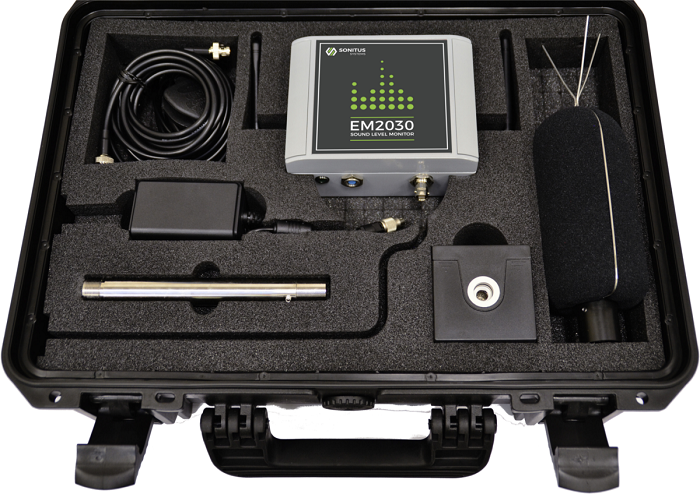
The Specto Technology team is proud to provide you with the Sonitus EM2030, a fully automated, remote sound level monitor with automatic audio capture and compliance reporting Setting Up A Sonitus Sound Level Monitor (SLM) System First thing to do, take the microphone cable and microphone out of the box. And then we’re going to route the microphone cable through the side of the case. Once you got the cable through, you are just going to plug it in to the BNC connector. Then just neaten up that cable. The Microphone Cable…

How to Set Up Your Sonitus Sound Level Monitor System? Read More »

All You Need to Know About the Sierra Wireless Airlink RV50

All You Need to Know About the Sierra Wireless Airlink RV50

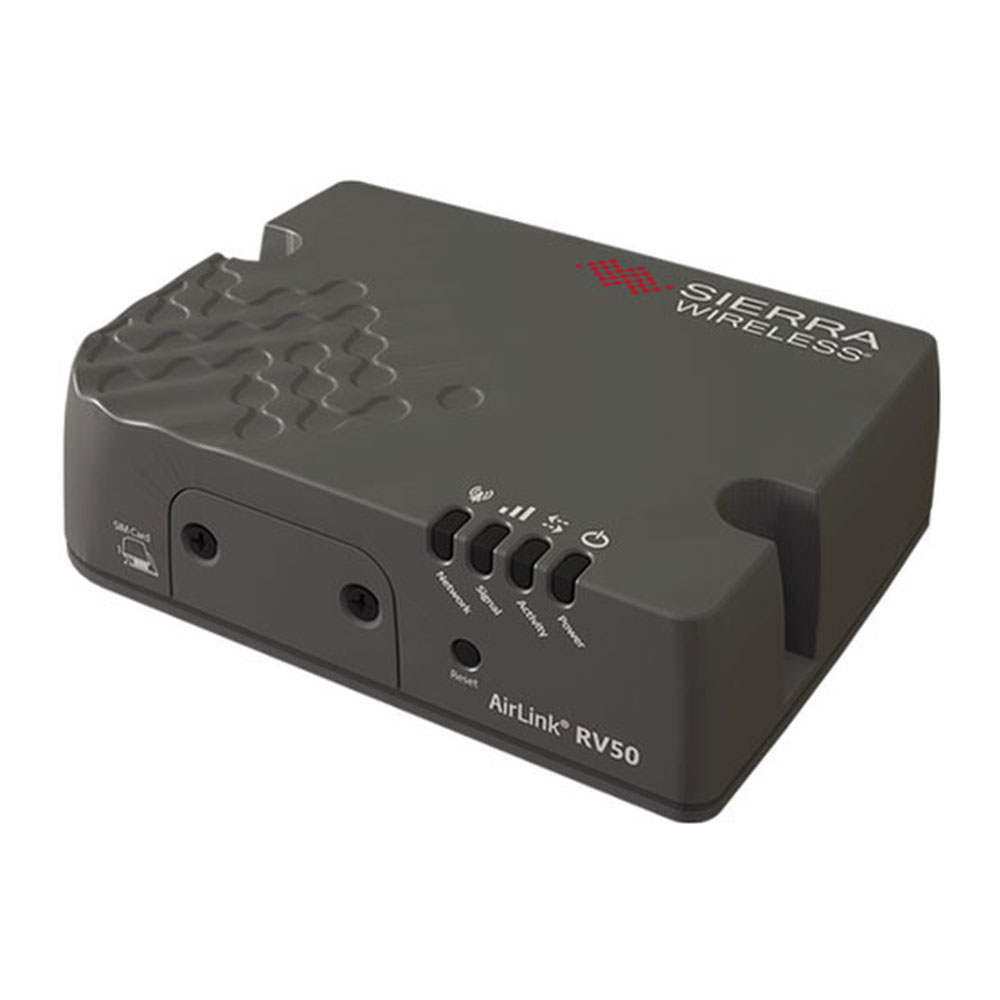
Industrial LTE Gateway – The Airlink Raven RV50 Introducing the AirLink Raven RV50 industrial LTE Gateway, from the market leader in cellular Gateways, Sierra Wireless. The Raven RV50 is industrial grade, specifically designed for operations, and challenging and hazardous environments. Sierra Wireless – Optimized for Solar Applications It is easy to install and is optimized for solar applications. LTE supports low latency polling, and provides the opportunity for new broadband applications, like video and motion sensors, to be added to critical infrastructure. Raven RV50 – Lowest Power LTE The Raven RV50 is the lowest power LTE…

All You Need to Know About the Sierra Wireless Airlink RV50 Read More »

Service and Calibration Kit for the Aeroqual Dust Sentry: Unboxing

Service and Calibration Kit for the Aeroqual Dust Sentry: Unboxing

Unboxing Our Calibration & Service Kit for the Aeroqual Dust Sentry Today I’m going to be unboxing our calibration and service kit for the Aeroqual Dust Sentry. So let’s have a look inside. We will start with some spares. So we have some spare O-rings for the inlet, some spare keys, some spare screws for the inlet, and some spare luer fittings. Tools wise, we have a long screwdriver for taking modules out. Filters, we have filter pairs for the particulate monitoring. The amount of filters that you have will be depending on…

Service and Calibration Kit for the Aeroqual Dust Sentry: Unboxing Read More »

How To Power the Dust Sentry or AQS Monitor Using A Mini PowerMate?

How To Power the Dust Sentry or AQS Monitor Using A Mini PowerMate?

Mini PowerMate Portable Battery Pack: Aeroqual AQS1 & Dust Sentry Monitors The Mini PowerMate is a 15 hour power pack, which we have designed with a lithium-ion battery and AC charger. Take the PowerMate and attach it to the back bracket on the AQS or Dust Sentry monitor Take out DC power cable with Anderson connections. These are waterproof. Blue goes to blue. Attach those and turn on. This power pack will last for about 15 hours. The Mini PowerMate Battery Pack Details Now let’s have a look to see a little bit…

How To Power the Dust Sentry or AQS Monitor Using A Mini PowerMate? Read More »

How to Connect a Load Sensing Node to an External Battery?

How to Connect a Load Sensing Node to an External Battery?

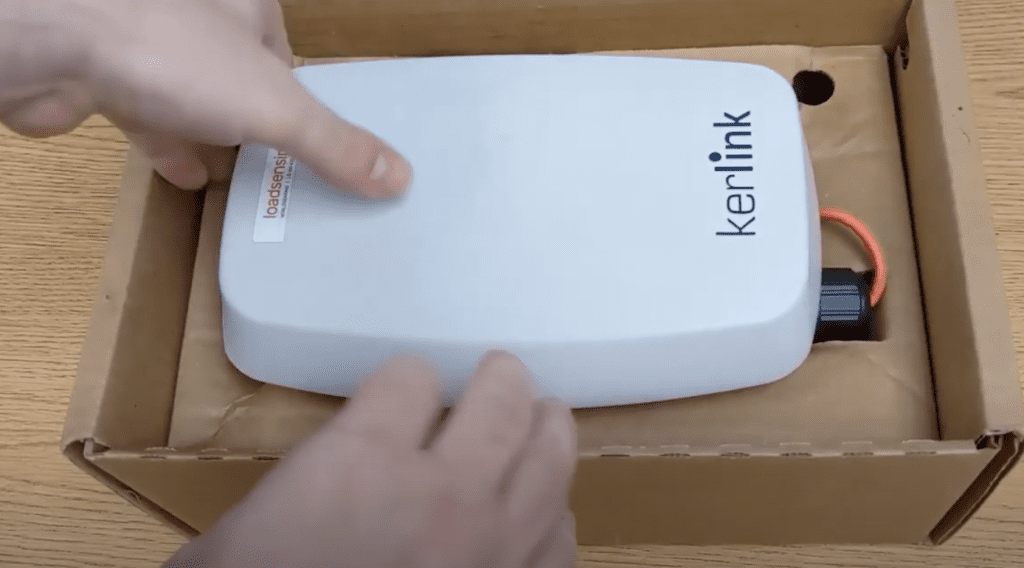
Connecting a Load Sensing Node We are going to look at how to connect your load sensing node to an external battery. We have three parts to make this happen: We’ve got a five volt adapter that can hook up directly to a 12 volt battery. We’ve got a extension cable We have a pass through for USB power to the node on the inside. Disconnecting the USB First, we are going to disconnect the USB from the inside of the Load Sensing node, it is usually plugged in right here. So we…

How to Connect a Load Sensing Node to an External Battery? Read More »

How to Install a Rail Clip Prism Assembly?

How to Install a Rail Clip Prism Assembly?

Rail Clip Prism: 25 Millimeter Prism & Anodized Aluminum L-Bar A rail clip prism is made up of two components. We have a high-quality 25 millimeter prism connected to an anodized aluminum L-bar. The rail clip is two parts, stainless steel connected by a stainless steel bolt. And we have another stainless steel bolt connecting the L-bar to the bracket. Preparing the Rail Clip Prism The tools I have for installation today are a socket wrench and two Allen keys. Lets prepare the rail. First, I am going to remove the prism. Keep…

How to Install a Rail Clip Prism Assembly? Read More »