Taking a Look at the GEO Laser Auto Level Tribarch + How to Install it The first thing that we’re going to do is take our total station and then just going to pop off the manual driver. Set that aside. Put our total station back down. Then we’ll take our GEO-Laser. this is going to install the same way as a standard tribrach, uses the exact same thread at the bottom. So all we’re going to do is place it on our tripod, and this process would be exactly the same, whether you’re using a tripod like we are today, or a wall mount bracket like we have over here. So we just tighten that up on the bottom...
Taking a Look at the GEO Laser Auto Level Tribarch + How to Install it
The first thing that we’re going to do is take our total station and then just going to pop off the manual driver.
- Set that aside.
- Put our total station back down.
Then we’ll take our GEO-Laser.
- this is going to install the same way as a standard tribrach, uses the exact same thread at the bottom.
- So all we’re going to do is place it on our tripod, and this process would be exactly the same, whether you’re using a tripod like we are today, or a wall mount bracket like we have over here.
- So we just tighten that up on the bottom.
- And at this point with any manual tribrach, we would roughly level the bubble level on top, but there’s no need to do that here.
Topcon and Total Station
So we’re going to take our Topcon and its total station.
- We’ll pop that onto the tribrach, tighten the safety latch, and then finally, we’ll power up the GEO-Laser.
- We’re just going to connect it to the 12 volt battery, using the alligator clips.
- As soon as we’ve powered up, we can see the green light flashing, indicating that the GEO-Laser’s working, and this will keep your total station leveled as long as you keep it powered throughout the course of your project.
So no need to go back to the site, through your lovely total station! Thank you for watching.
-
 Wildfire Cleanups and Recovery: Perimeter Air Quality Monitoring
 -
 Protection from Wildfire Smoke – California, Washington and Oregon
 -
 What is Respirable Silica Dust and Why Do You Need to Monitor It?
 -
 New Jersey Perimeter Air Quality Monitoring (PAM) Technical Guidance Explainer
 -
 Air Quality Matters: Wildfires & AQI
 -
 Aeroqual Ranger™ Cloud from Specto Technology - Configure Alerts
 -
 Aeroqual Ranger™ Cloud from Specto Technology - Connect to Wi-Fi
 -
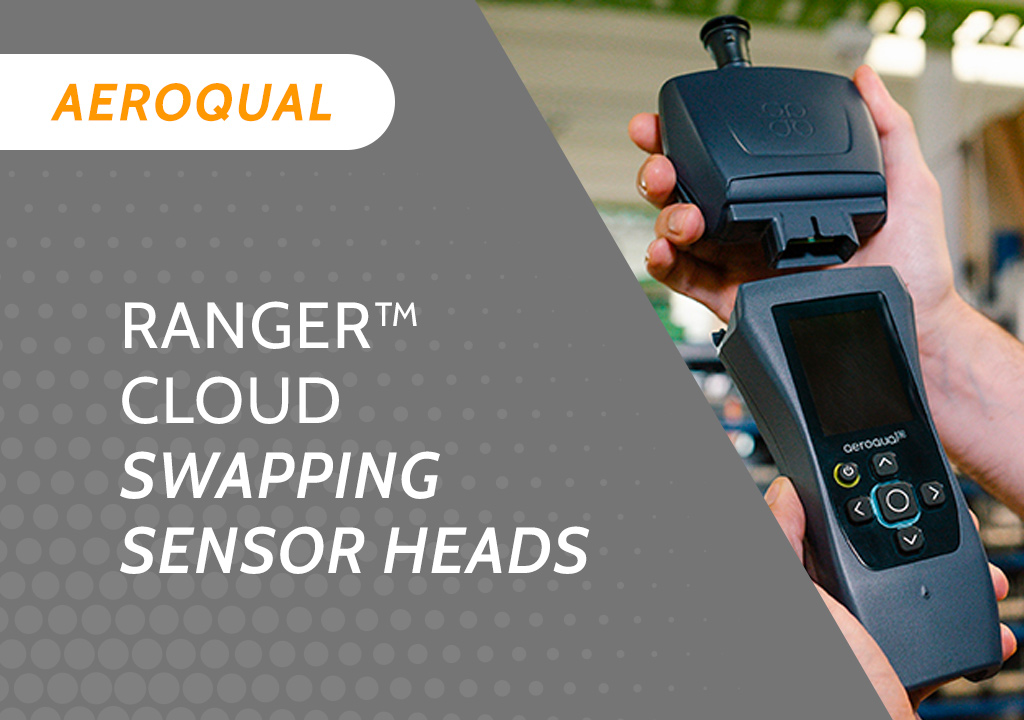 Aeroqual Ranger™ Cloud from Specto Technology - Swapping Sensor Heads
 -
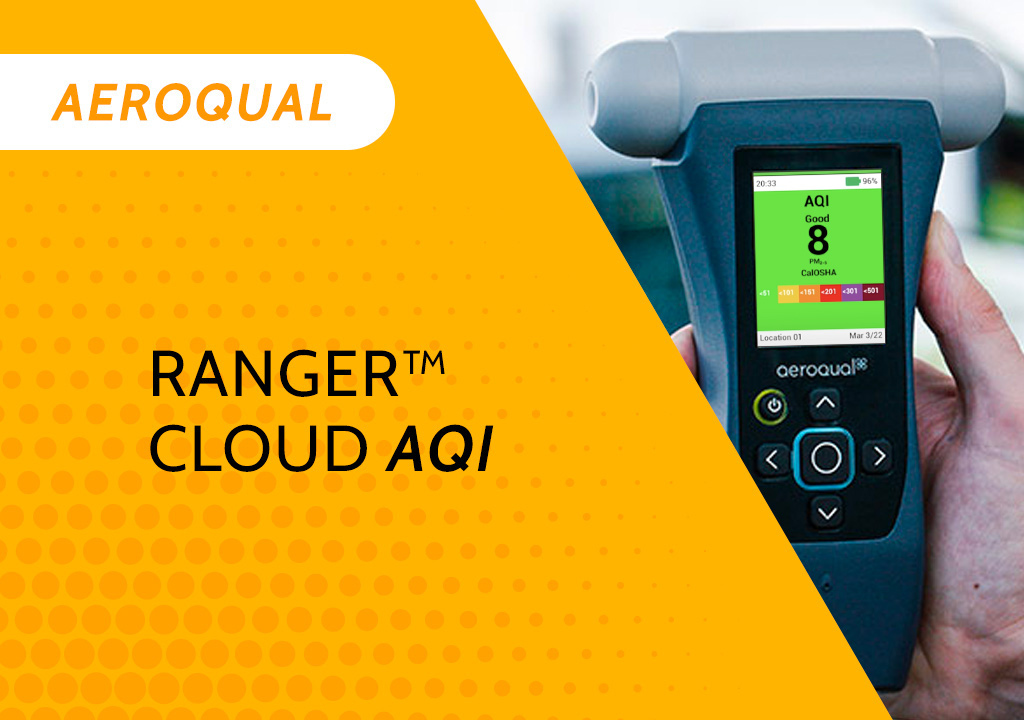 Aeroqual Ranger™ Cloud from Specto Technology AQI
 -
 Assembly of a pole mounted solar panel system (3 panels)
