How to Install a Rail Clip Prism Assembly?

How to Install a Rail Clip Prism Assembly?

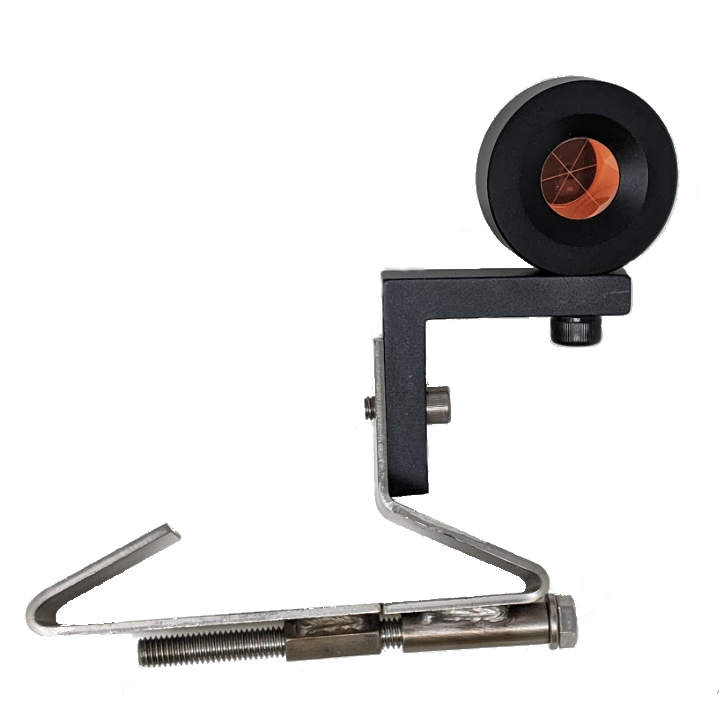
Rail Clip Prism: 25 Millimeter Prism & Anodized Aluminum L-Bar A rail clip prism is made up of two components. We have a high-quality 25 millimeter prism connected to an anodized aluminum L-bar. The rail clip is two parts, stainless steel connected by a stainless steel bolt. And we have another stainless steel bolt connecting the L-bar to the bracket. Preparing the Rail Clip Prism The tools I have for installation today are a socket wrench and two Allen keys. Lets prepare the rail. First, I am going to remove the prism. Keep…

How to Install a Rail Clip Prism Assembly? Read More »

Loadsensing a LS-G6 Wireless Data Logger

Loadsensing a LS-G6 Wireless Data Logger

Cities are expanding rapidly, not only above, but also underground. They grow through tunneling projects which pose a lot of geotechnical challenges. If you are in charge of a large construction project, you need a reliable instrumentation and monitoring program to reveal hidden threats, to manage risks. The Risk of Collecting Sensor Data Through Manual Readings Most of you install sensors to monitor the behavior of the ground and soil structure interaction. However, the majority of you still collect sensor data through manual readings, which, as you know, is risky and tedious. Cable Based…

Loadsensing a LS-G6 Wireless Data Logger Read More »

How to Unbox a Sonitus EM2030 Sound Level Meter?

How to Unbox a Sonitus EM2030 Sound Level Meter?

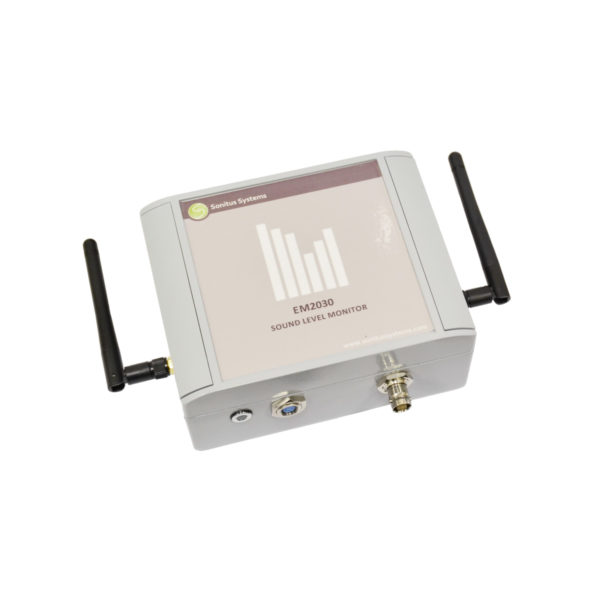
Sonitus Systems Automated Sound Level Meter – Unboxing Our Sonitus Systems is in the carrying case. First thing we will do, is we are going to open up this case. We’ve got the EM2030 sound level monitor. EM2030 Sound Level Meter – Antennas This is the actual brains of the operation. It has two antennas; one for wifi and one for cellular. On the bottom, you have a port for the microphone on the right and a port for the power on the left, and then your led indicator on the left there…

How to Unbox a Sonitus EM2030 Sound Level Meter? Read More »

How to Unbox a Large Optical Survey Prism?

How to Unbox a Large Optical Survey Prism?

Unboxing An Optical Survey Prisms Today we are going to do a quick unboxing of a large optical survey prism. First thing we are going to open up here is going to be the box of hardware. Here we have a couple of standoffs that you can use if you are using this with some traditional survey mounts. We have another standoff adapter here. We have the hardware for fastening everything onto the prism itself. We have our small ankle bracket arm here, and then we have…

How to Unbox a Large Optical Survey Prism? Read More »

How to Unbox a Reference Survey Prism?

How to Unbox a Reference Survey Prism?

Unboxing a Large Reference Prism This is the large reference prism here and it comes in two boxes. Let’s start with the small one here. We’ve got our hardware and two different standoffs for a survey pole mount. We’ve got another standoff for a survey pole mount. There are various sizes and there are small angle brackets and a couple of screws and washers. We also have the main large angle bracket. And in the large box here, got our solar and rain shields. Then we have the main prism. So this is…

How to Unbox a Reference Survey Prism? Read More »

How to Set the Azimuth Angle on a Topcon Total Station (AMTS)?

How to Set the Azimuth Angle on a Topcon Total Station (AMTS)?

Setting the Azimuth Angle – Topcon (AMTS) Total Station Today we are going to be taking a look at setting the azimuth angle on your Topcon total station. The first thing that we are going to want to do is to aim our total station at the prism that we are going to use the center angle. Once we do that, once we aim at that prism, we will see that the sighting collimator, the white triangle, is visible when we look straight down the barrel there. Now we are going…

How to Set the Azimuth Angle on a Topcon Total Station (AMTS)? Read More »

How to Measure the Flow Rate?

How to Measure Flow Rate

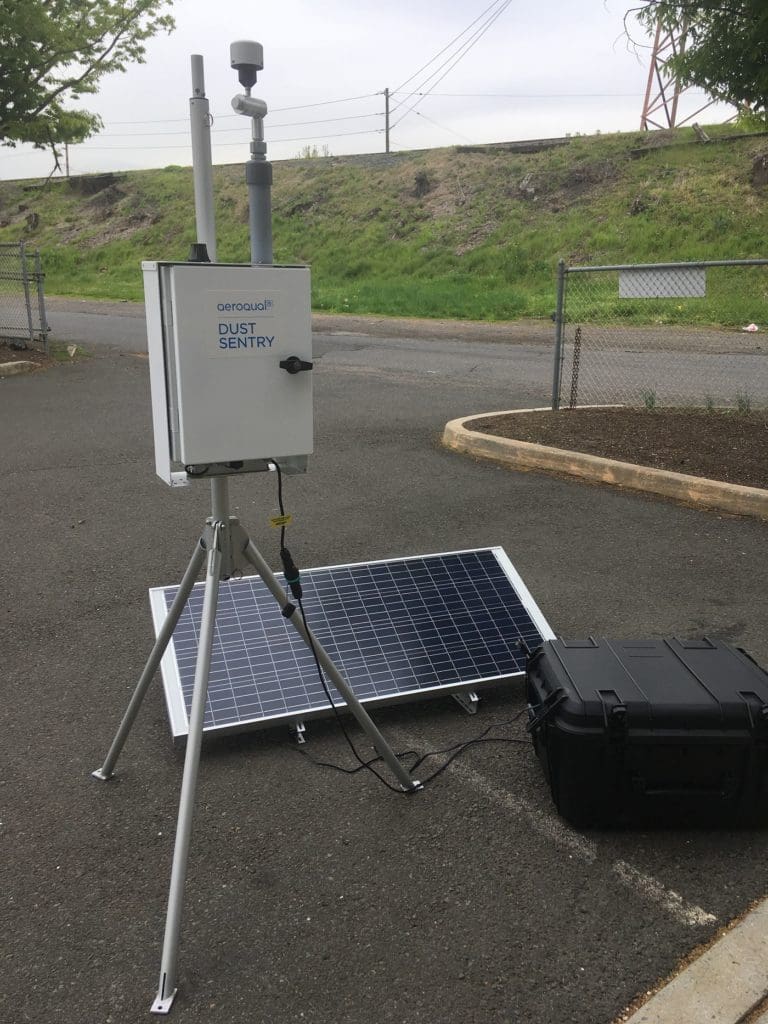
How to Measure Flow Rate on the Aeroqual AQS1 or Aeroqual Dust Sentry Monitors Today I am going to show you how to measure the flow rate on the Aeroqual AQS1 or Dust Sentry Units. So we are going to use the Rotameter that comes with the service kit. Measuring and Adjusting Flow Rate on the Dust Monitor: Simply remove the TSP head and attach a rotameter using the quick connect. You will hear it click in place. We can measure the flow rate on this rotameter Now I am now going…

How to Measure Flow Rate Read More »

How to Install Aeroqual Mounting Brackets for the Dust Sentry or AQS1 Portable Monitors?

How to Install Aeroqual Mounting Brackets for the Dust Sentry or AQS1 Portable Monitors?

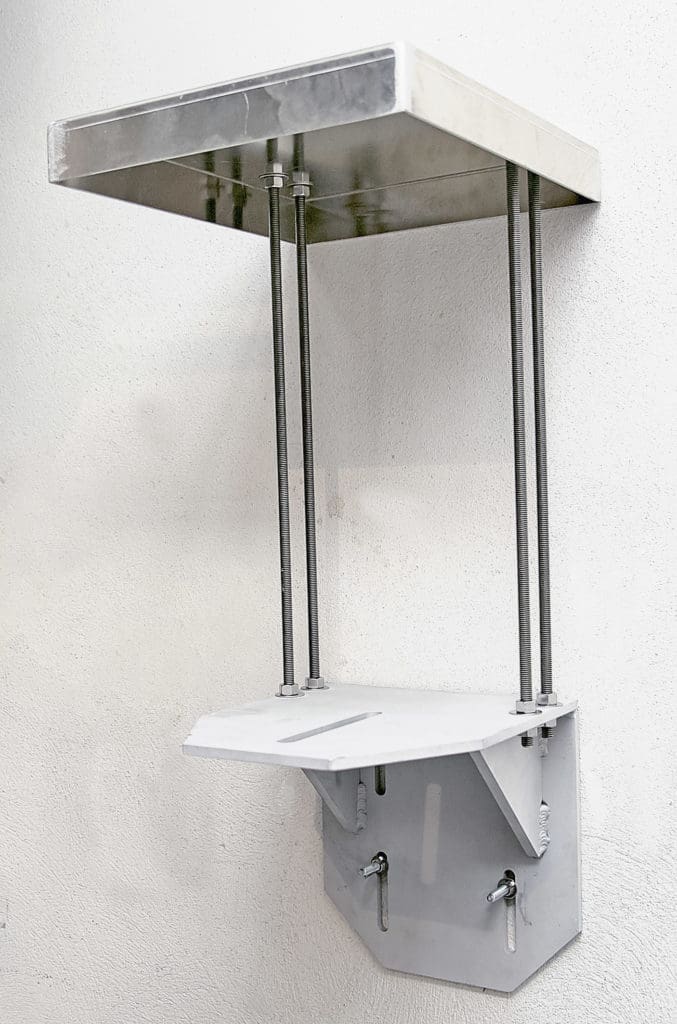
Installing Aeroqual Mounting Brackets This Aeroqual mounting bracket is quite flexible. It can be used on poles, on tripods, and it could be drilled into the wall. So, this bracket that we have here, I put a hose clamp that’s attached by the two center holes here, and you can also use U-bolts. On this tripod here, you can see it’s secured by two U-bolts at the back of the tripod there. And if you see the two holes right at the very front, you can drill straight into a wall. That’s…

How to Install Aeroqual Mounting Brackets for the Dust Sentry or AQS1 Portable Monitors? Read More »

How to Download Data from An Aeroqual S500 Handheld Monitor?

How to Download Data from An Aeroqual S500 Handheld Monitor?

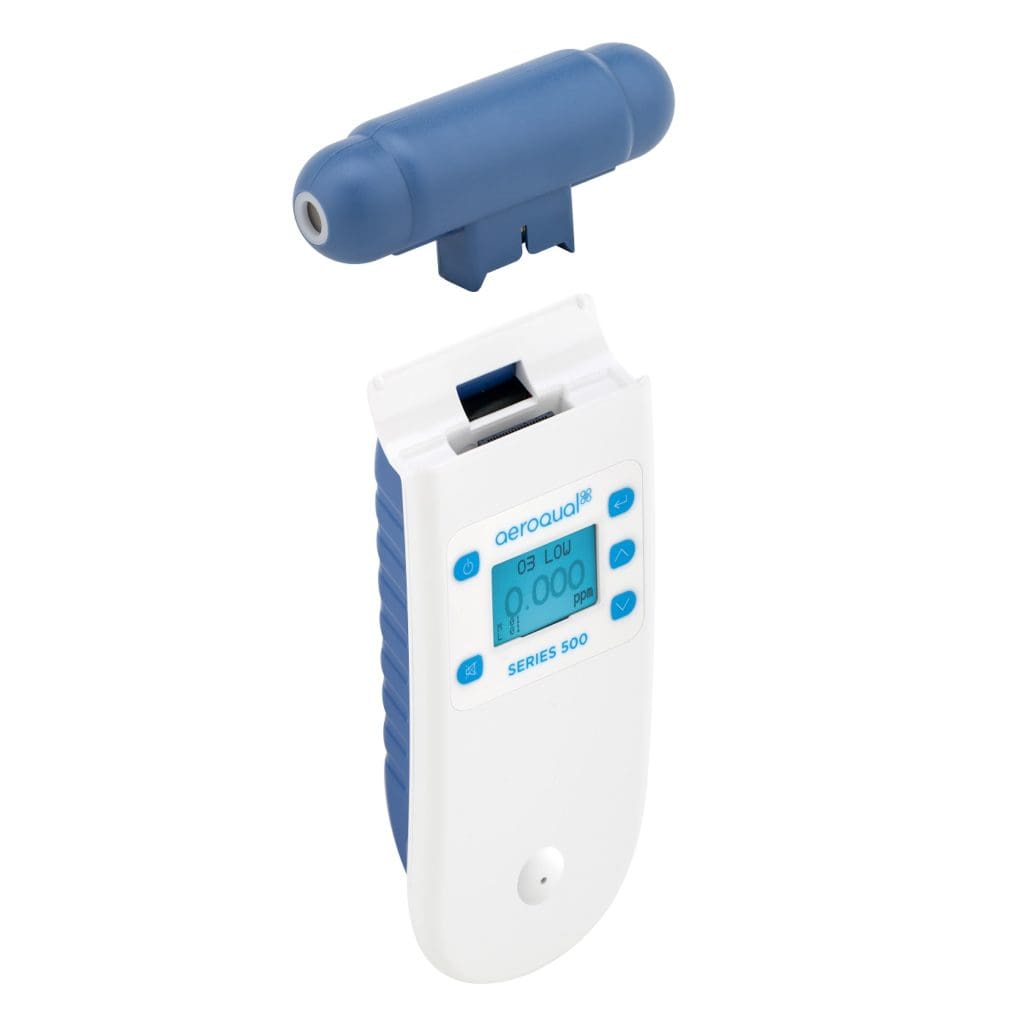
Downloading Data from Your Series 500 Handheld Monitor The assumption here is that you already have gone to the Aeroqual website and downloaded the software. You should have your S-500 monitor with some log data, your data cable. Software Steps for Downloading the Aeroqual S500 Data to your Desktop Get hold of our S-500 monitor. We are going to plug in the data cable, and then we’re going to plug the data cable into a USB port on the side of our PC. Once you’ve done that, then you can head on…

How to Download Data from An Aeroqual S500 Handheld Monitor? Read More »